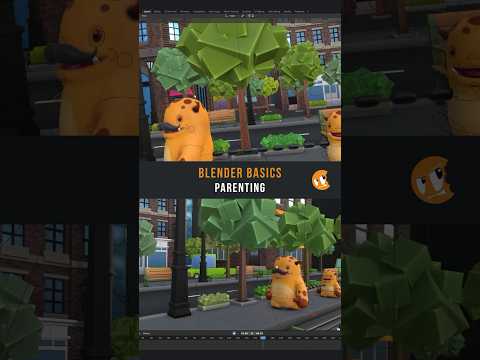
In Blender, it’s easy to move objects along the X, Y, and Z axis, but what about forwards or backwards relative to its rotation? That’s also easy, thanks to its local orientation!
You can switch between Global and Local orientation in the 3D View header, by using the comma hotkey, or by double tapping the axis while transforming.
In this lesson, we also talk about how all objects have a reference point. It’s usually the center of the world, but you can set the reference point to be any other object through a process called parenting, which means that it will inherit all of its transforms. The hierarchy of these relationships is displayed in the Outliner.
Some other hotkeys learned in this lesson are:
Alt G: Clear location
Alt R: Clear rotation
Alt S: Clear scale
Ctrl A: Apply (freeze) transforms
Ctrl P: Set parent
Alt P: Clear parent

