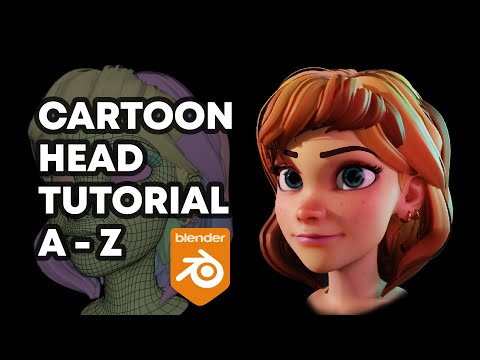
In this video tutorial I am going to share with you a complete workflow in order to create a ”Disney style” head using blender. I am first going to show you how to sculpt the head using a grease pencil sketch. Then I will do a proper re-topology in order to get a clean mesh, that will serve as the final mesh after some refinements. Next I will add some eyelashes, eyebrows and finally stylized hairs using curves. In order to save some time we are going to use the AutoEye addon to quickly bring and setup some eyes. After that, we are going to setup some lights and create some shaders along with the different skin textures. Finally we are going to launch some Eevee and Cycles renders 🙂
Grease pencil tutorial: https://youtu.be/9N-glGarYuM
References:
Jin Kim: https://www.iamag.co/the-art-of-jin-kim/
Glen Keane: https://www.pinterest.fr/rican12k/the-art-of-glen-keane/
Model Sheets and Visual Library: https://characterdesignreferences.com/visual-library
AutoEye Pro: https://blendermarket.com/products/auto-eye
00:00 Introduction
00:05:35 Blocking + Sculpting 01
00:27:07 Sculpting 02
01:32:05 Retopology
3:11:58 Eyelashes and Eyebrows
3:38:14 Adding the hairs with curves
4:26:34 Simple hair and skin shader
4:33:28 Simple 3 point lighting
4:39:25 Adding ”AutoEyes”
4:25:37 UV unwrapping
4:55:38 Skin texturing
5:51:30 Final tweaks (expression, shaders, rendering, earring …)
5:50:33 Bonus (Eyelashes texture)