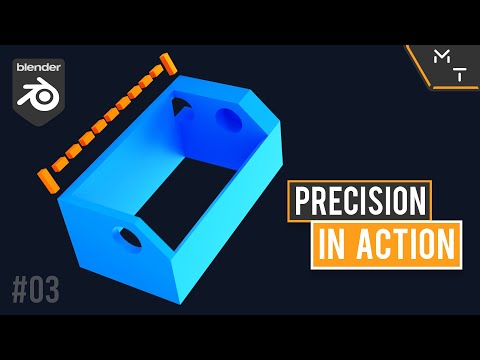
Recently I showed how to turn your 3D printer into a Timelapse robot. This here is how I went about and modelled the attachment to connect my timelapse trigger system to my cr10.
These videos are an extension of my Learning Blender 2.9+ through precision modelling playlist. I’m going through a wide variety of random models where I hope to share not only what my current workflow is but additional tips and to actually show you what is possible with blender when it comes to precision modelling.
If you have any questions the best place to leave them are in the discord community.
Dimensions: https://bit.ly/2QXCMiw
How To Do 3D Printing Timelapses: https://youtu.be/XfwfQQWLGBA
Blender Addons : https://youtu.be/v9tbXF410SU
Learn Blender 2.9+ through precision modelling playlist:
https://youtube.com/playlist?list=PL6Fiih6ItYsXzUbBNz7-IvV7UJYHZzCdF
? Maker Tales Discord Server
https://discord.gg/Ezx9hUD
? Subscribe To Keep Making:
https://bit.ly/sub2MT
? Share with a friend:
https://youtu.be/NrSJg6D1s2Y
? Watch My Most Recent Upload:
https://bit.ly/recentMT
Other Places Where you can find me:
Patreon: https://www.patreon.com/MakerTales
Instagram: https://www.instagram.com/makertales/
Twitter: https://twitter.com/themakertales
Facebook: https://www.facebook.com/MakerTales
Time Stamps:
0:22 – Intro
0:27 – Creating The Cut Away Mesh
01:06 – Adding The Main Body
02:53 – Adding The Holes
8:46 – Mesh Cleanup
12:55 – Inside Of Slicer
13:36 – Closing Notes

